Dyeing with Onion Skins
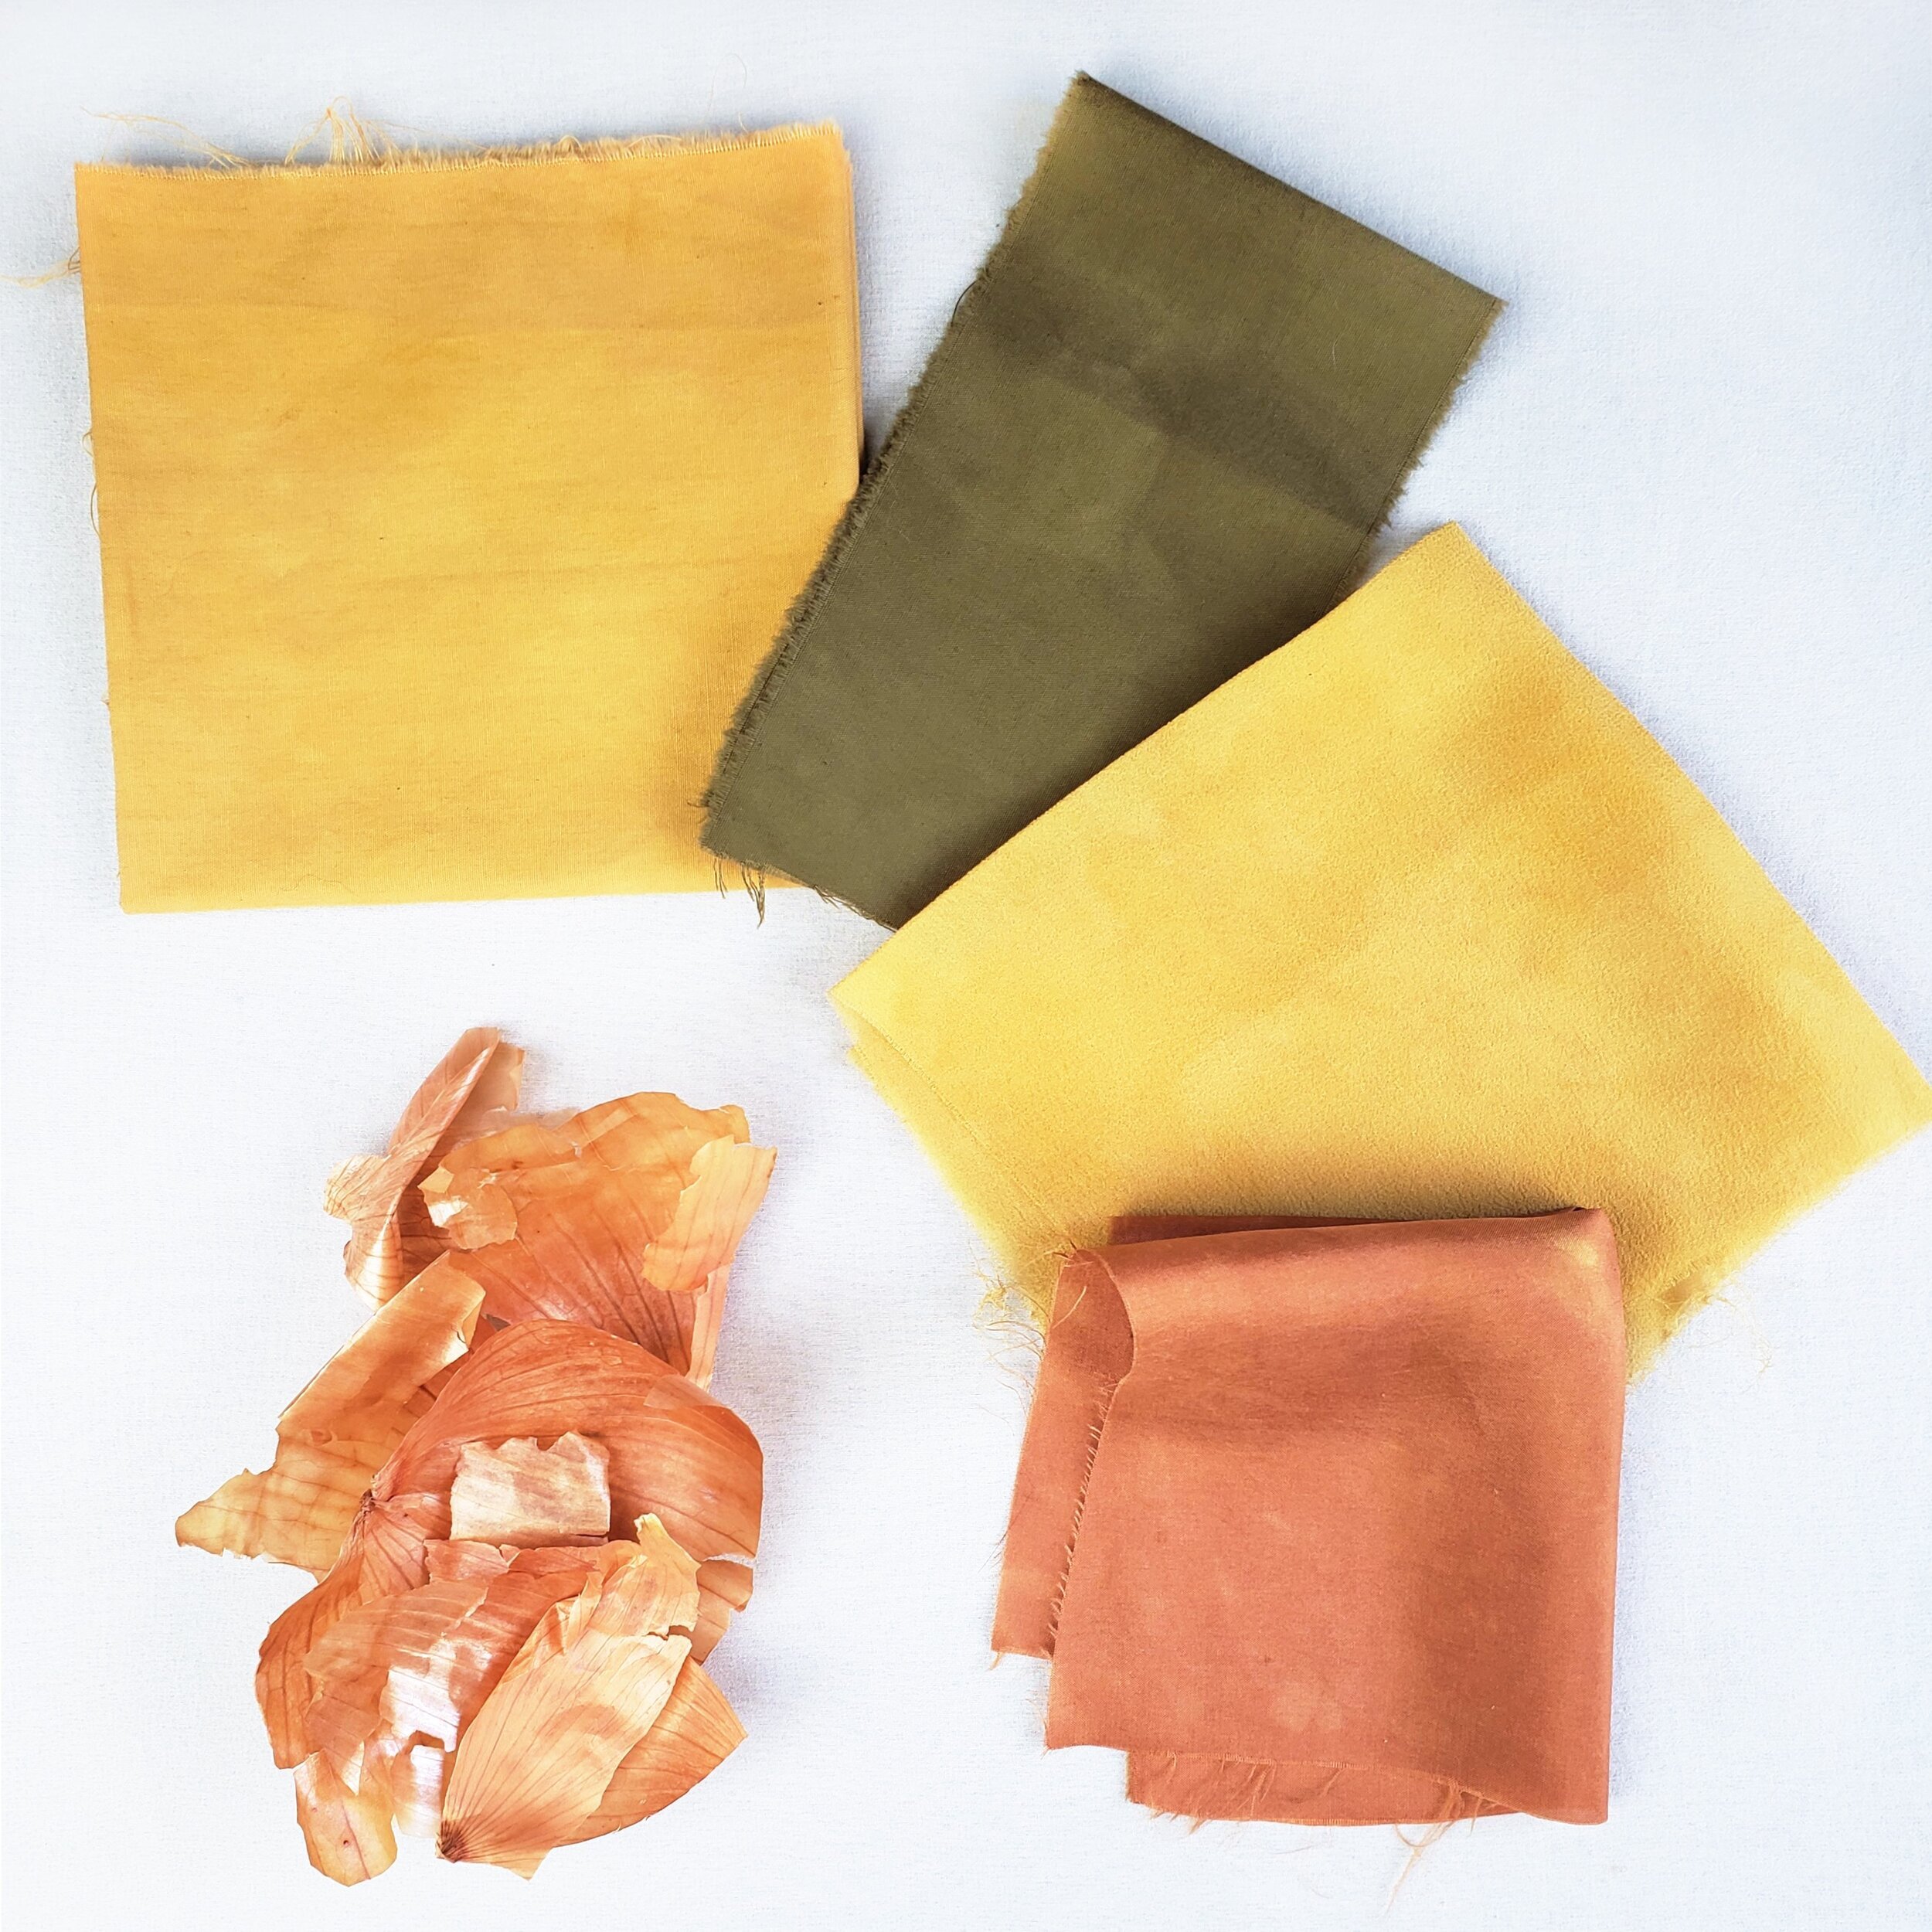
Don’t throw out your onion skins! They make a great fabric dye! Just look at these beautiful colors the skins from yellow onions made on silk.
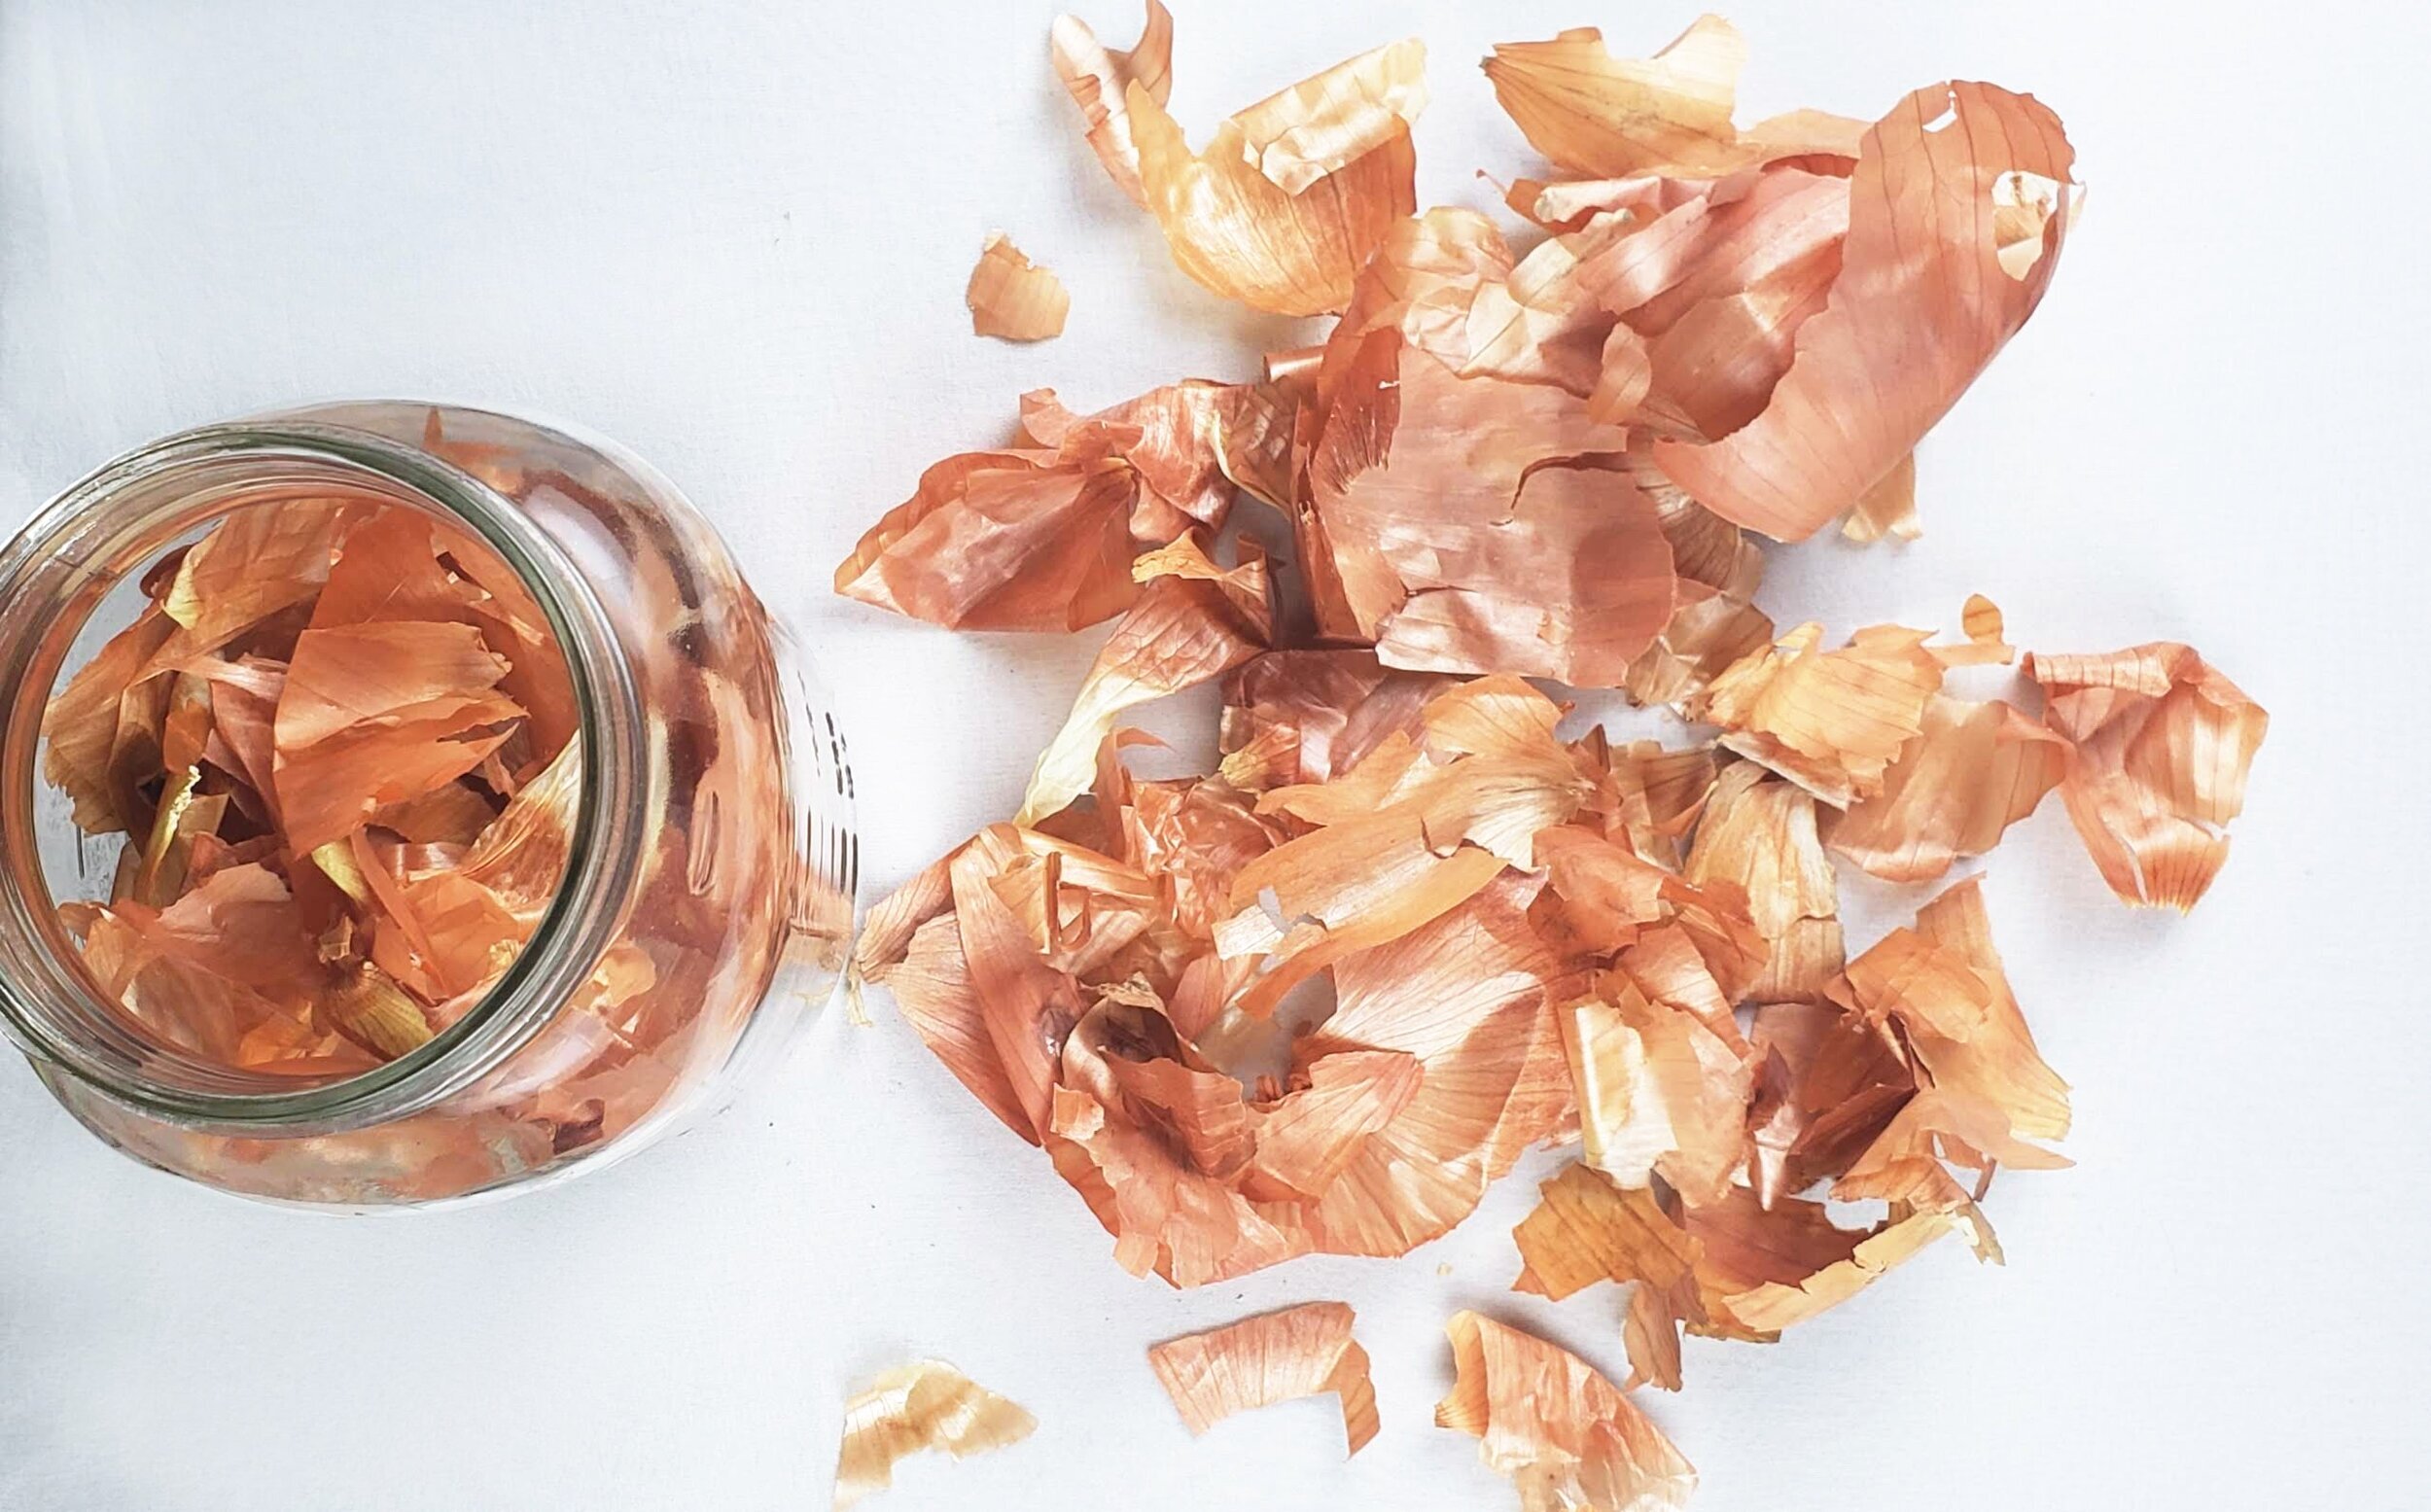
Collecting and storing onion skins:
I keep a jar on our kitchen counter and whenever we cook with onions in our home, the dry, papery skins get shoved into the jar. There they stay until I’m ready to dye with them. That’s all there is to it! Sometimes a piece of onion skin is a little fleshy or juicy and those I compost. If moisture gets into the jar of onion skins mold can grow so if you’re in doubt, compost them. The dry, papery skins can be stored indefinitely.
Regarding onion type: Purple and yellow onion skins can give slightly different colors. If you use a lot of each, try separating them and compare the colors you get. I use so many yellow onions that those are the skins I mostly use for dye. When I do cook with purple onions, I throw their skins in with the yellows and don’t worry about mixing them.
Preparing the Fabric:
Scouring:
Fabric should be well washed before dyeing. An even better practice is to scour your fabric. Scouring is a more robust washing method that removes dirt and oils that may be on the fabric. Even brand new fabric will have oils that can prevent the dye from penetrating the fibers evenly. Here are some great instructions for scouring both protein (silk and wool) and cellulose (plants such as cotton, linen, hemp, etc.) fibers.
Mordanting:
Many natural dyes require fiber to be mordanted, which means adding a compound that helps bind dye molecules to the fiber. Silk and wool fibers don’t require a mordant with onion skins, but mordants do create different colors.
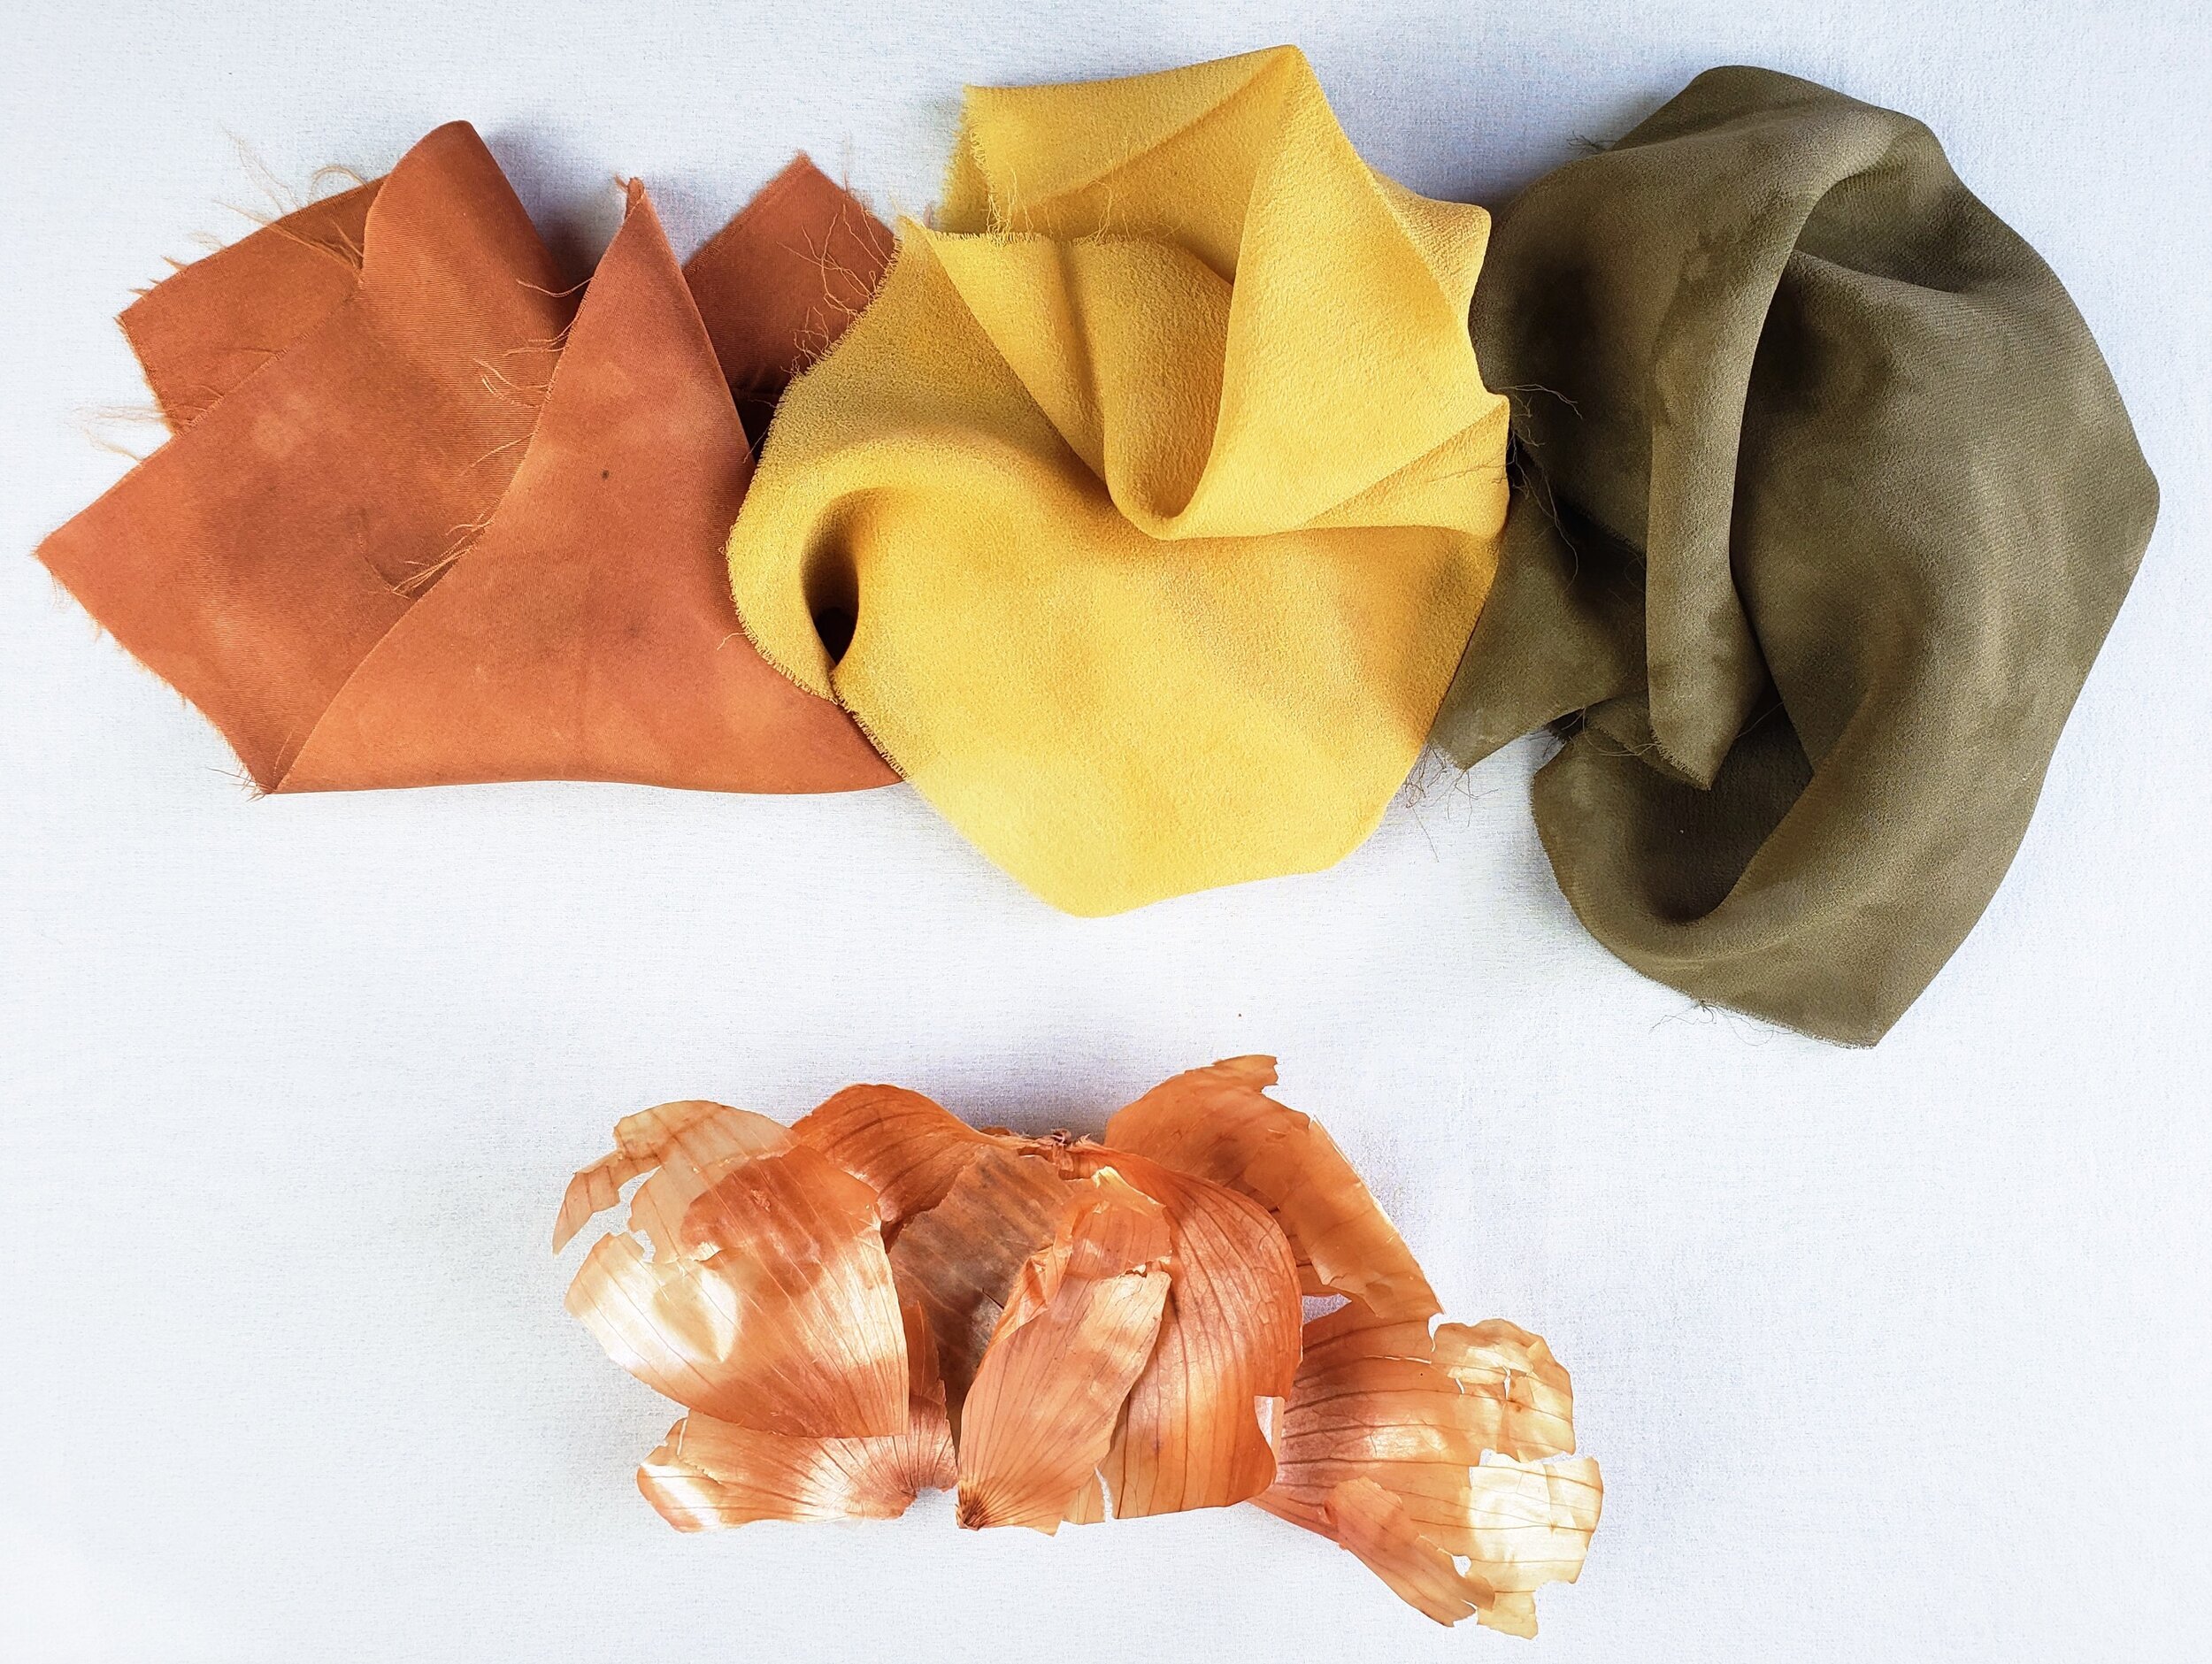
In the photo below, the orange colored silk on the left was unmordanted fabric. The yellow silk was mordanted with alum (potassium aluminum sulfate). You can purchase it at the grocery store in the spice isle, or from a natural dye supplier. See my description of using it in this blog post.

Iron (ferrous sulfate) will shift the yellow and orange colors towards olive green. In dyeing these samples, I dyed the olive green in it’s own dye bath where I had added a pinch of ferrous sulfate powder to the powder. (I purchase it inexpensively on Amazon.)
The photo below shows alum mordanted silk on the left and on the right is alum mordanted silk with a pinch of iron powder added to the dye bath.

In my experience, with no mordant, cotton fabric dyes a lackluster beige with a hint of yellow-orange so I always mordant cotton. Instead of the alum used for silk and wool, cotton (and other cellulose fibers) need a different mordant - aluminum acetate. It can be purchased online from many shops that sell natural dyes and supplies.
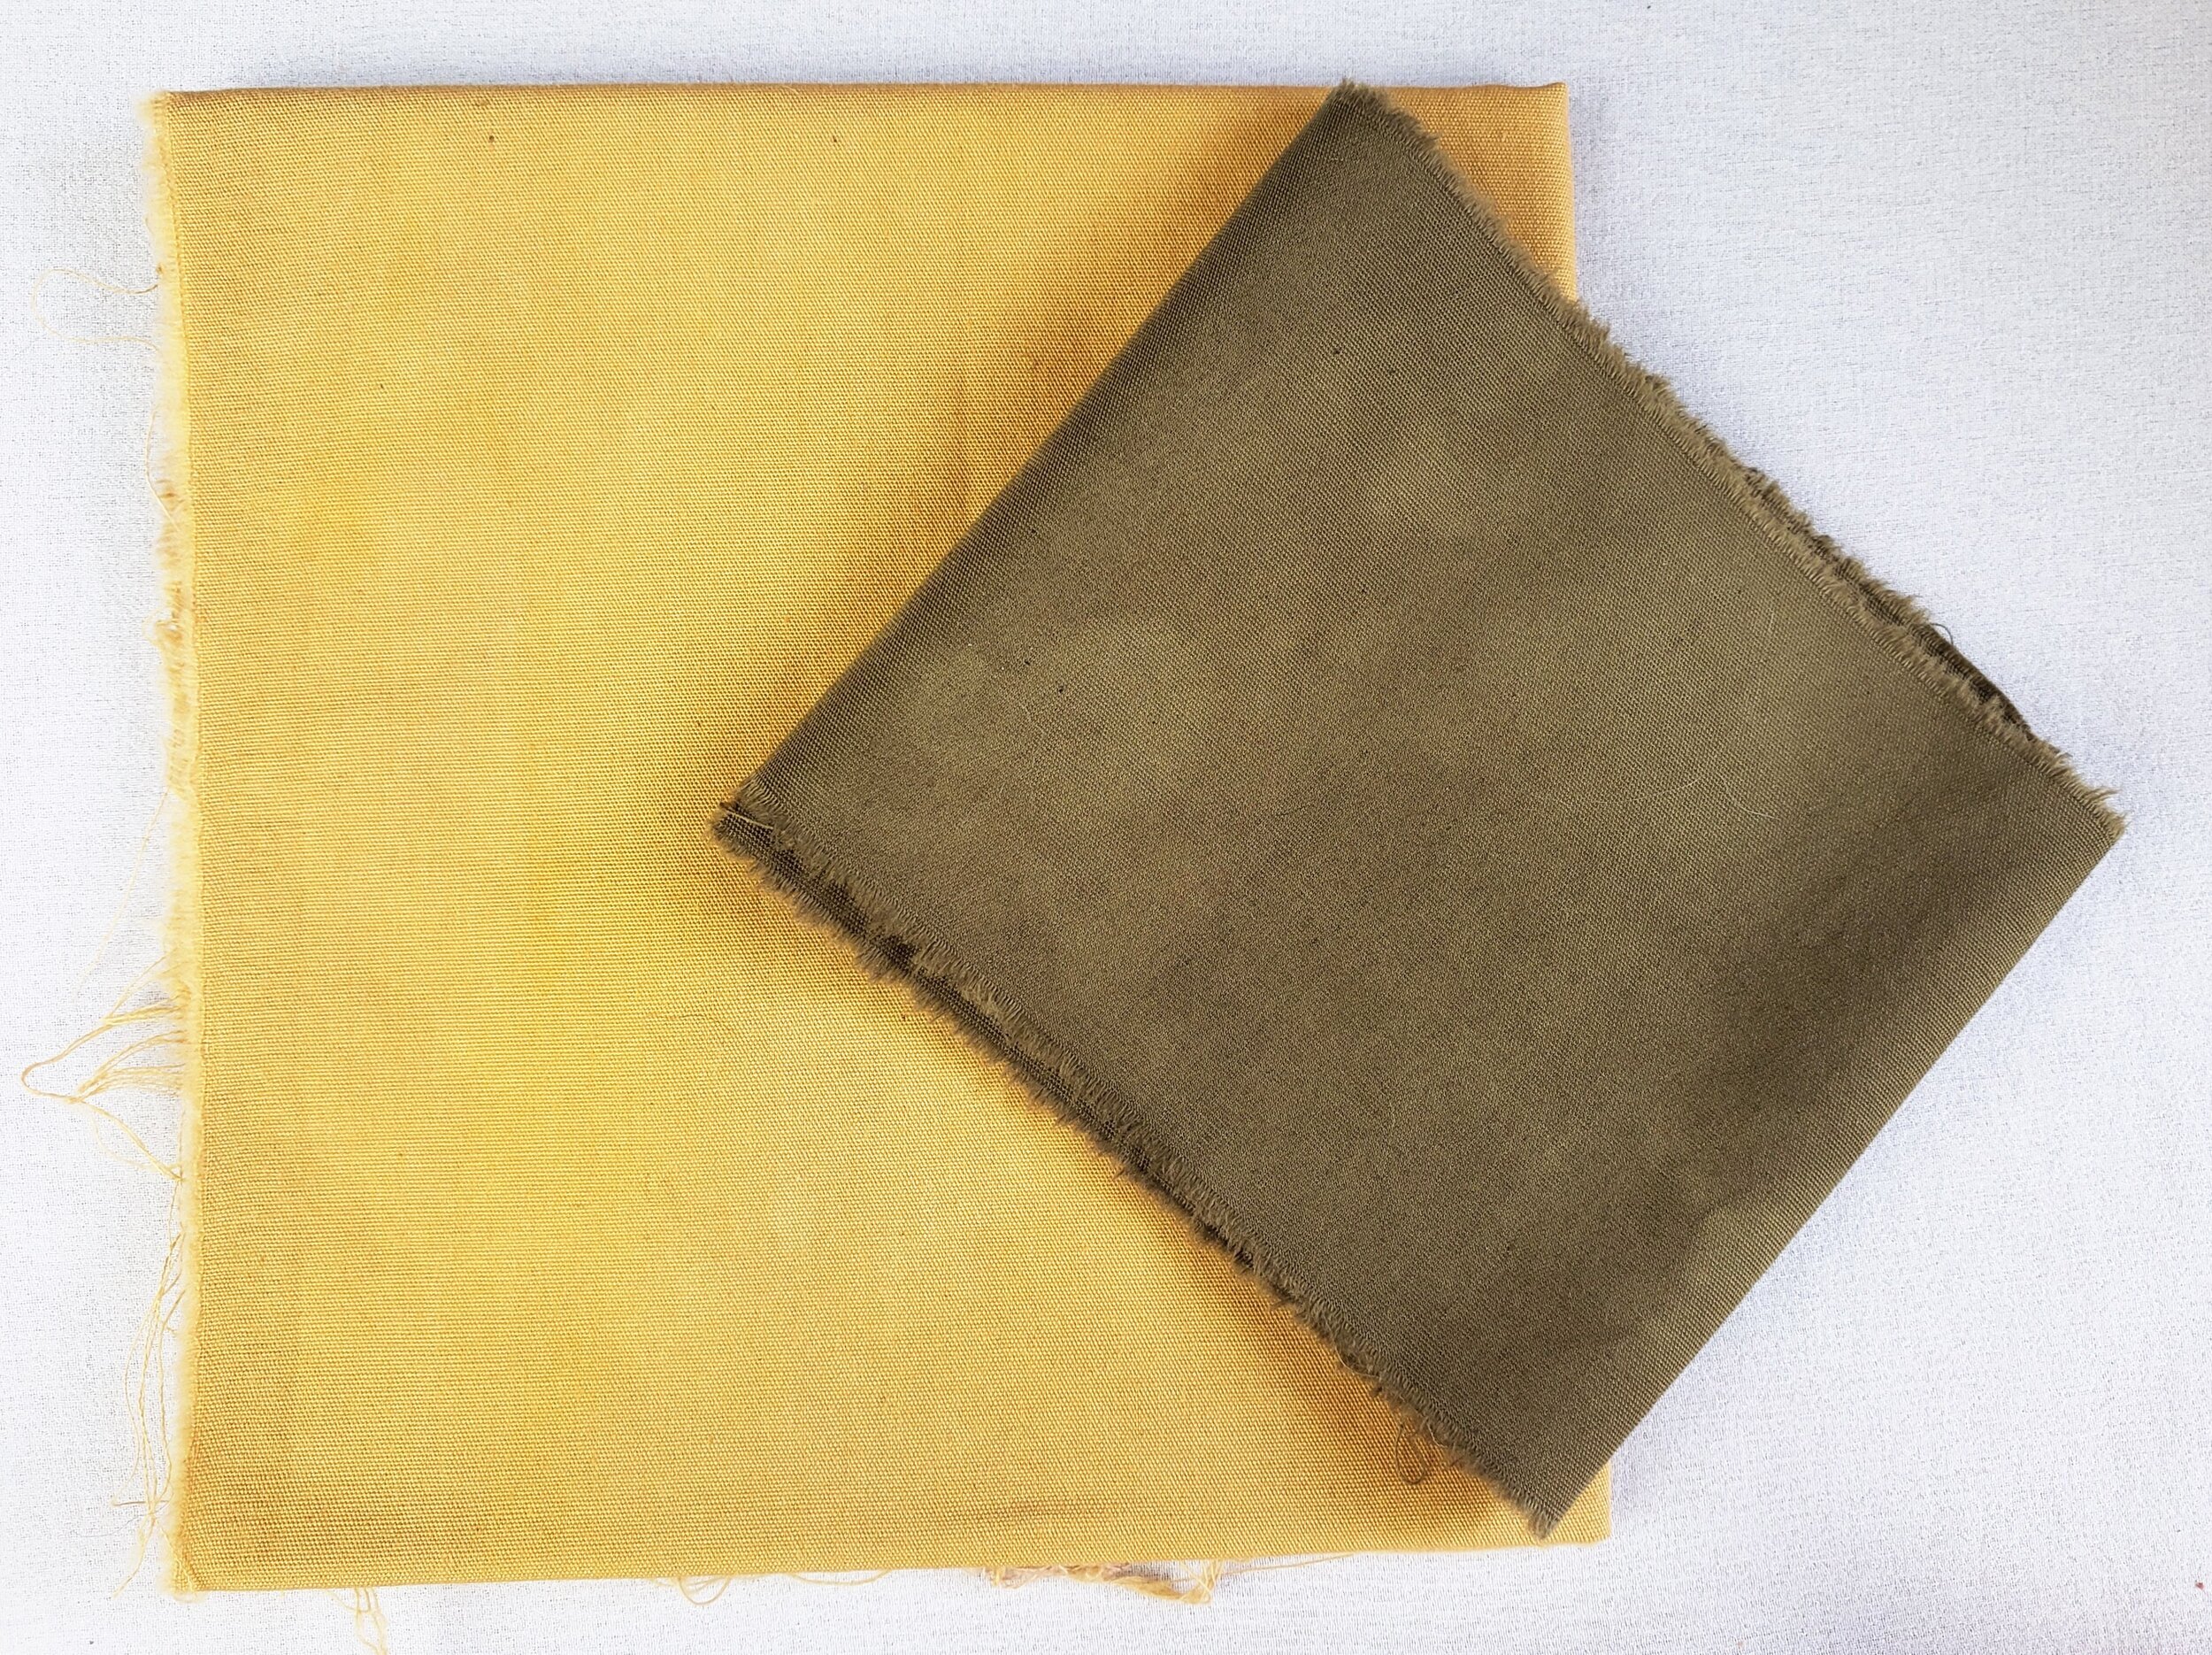
In the photo below, both pieces of cotton were mordanted with aluminum acetate. The olive fabric had iron added to the dye bath.
Dyeing with onion skins:
Okay, so how do you get the color? When dyeing with the skins, I put several large handfuls into a large pot. (It’s always best to have dedicated pots for dyeing. Don’t use the same ones you use for preparing food.) The more onion skins relative to the amount of fiber you’re dyeing, the darker your final colors will be. If I’m dyeing just a little bit of embroidery floss, I might use just a small handful. More fabric = more onion skins. You can always add more throughout the dye process if your color doesn’t appear to be as deep as you you’d like it to be.
Add water to cover the onion skins. Now you have two choices about your dye method.
Dye fabric and onions together:
Add fabric directly to the pot with onion skins and water. Be sure there is enough room, and water, for the fabric to move freely. Heat to a simmer. You’ll see the color leach out of the skins and into the fabric. Stir gently every once in a while to move the fabric around. Simmer for 30 - 60 minutes then let cool. For deeper colors, let your fabric stay in the dye bath overnight.
Sometimes this method produces uneven color since the onion skins touch the fabric. This can create lighter and darker areas, as seen in my examples in this post. If you want to ensure a more uniform results, use the method below.
Make dye bath, then add fabric:
Follow the steps above, except do NOT add your fabric. Simmer, onion skins and water, let cool, and, if desired, leave overnight to deepen the color. If the color of the water seems too pale, add more onion skins and heat again. Now strain out the onion skins, then add the fabric. Be sure there is enough water for the fabric to move freely in the pot. You can always add a little more water if you need. Gently heat again, as that helps the dye bond with the fiber. Gently stir the fabric to ensure even coverage. Since there are no onion skins to make blotches on the fabric, it’s easier to get uniform color.
Finishing:
Remove fabric from dye bath and hang to dry, or rinse right away. Some of the dye won’t be fully bonded with the fabric and will rinse off. Soak in water, then rinse until the water is clear. Wash fabric gently, using methods appropriate for the fiber content.
Enjoy your beautiful color created from kitchen waste!
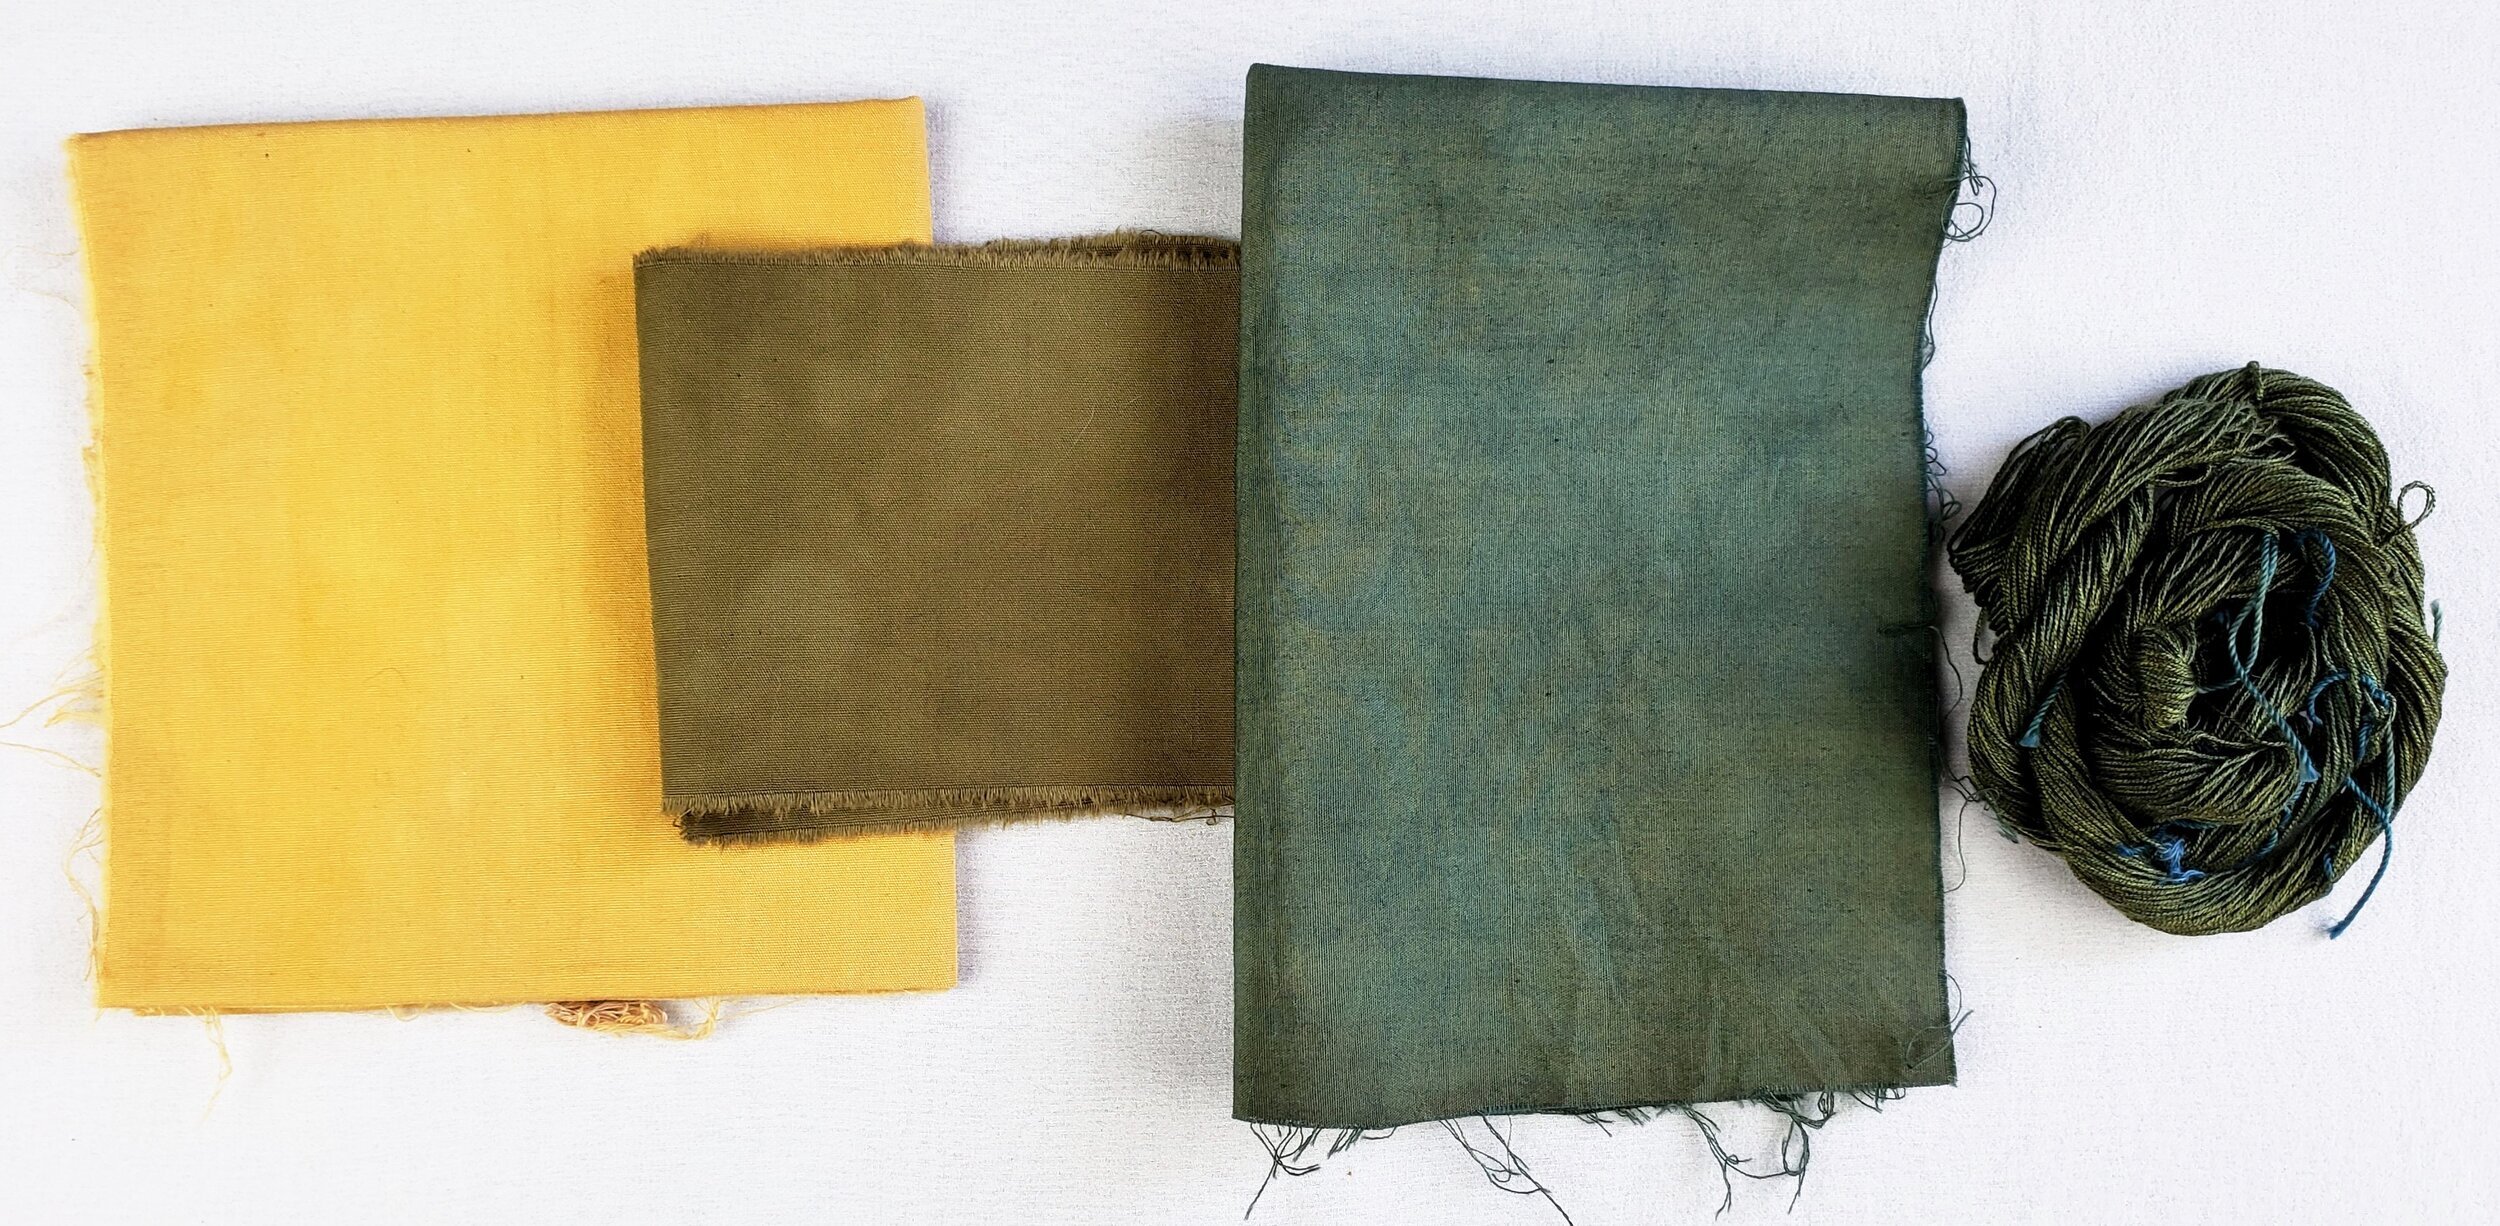
Onion skin dye also blends beautifully with other natural dyes. Recently, I wanted a forest green color for a particular project. I took some cotton fabric and silk embroidery floss that had been dyed with onion skins and iron and then dipped it in blue indigo dye. You can see the gorgeous result in the photo below. Nature provides such a beautiful range of colors!